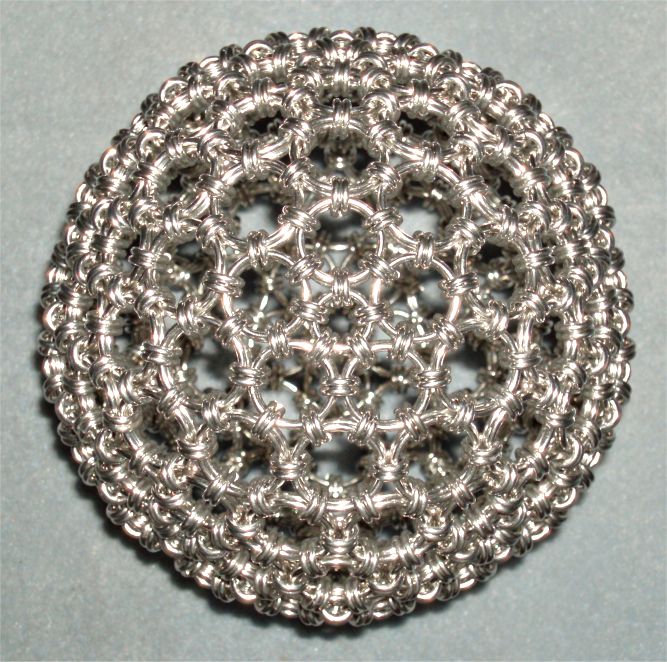
In this tutorial a spheroid is shown, that is the maille version of a Goldberg G(4,0) polyhedron - here shown in size 'S', that is woven with paired connector rings. Once L/XL versions are made available, these will be woven with tripled connectors.
Ring data chosen here are (nominal mandrel sizes; final data differ) fairly similar to the ones used for Insanihedra, as also the structure is similar - only the 'corner buds' differ a bit, and of course the ring amounts.
(O) 40 x 16swg/1.6mm x 13.0mm,
(A) 120 x 16swg/1.6mm x 1/2",
(B) 120 x 16swg/1.6mm x 29/64",
(C) 24 x 16swg/1.6mm x 21/64" for the 'buds',
(D) 960 x 16swg/1.6mm x 5/32" as connector rings.
First preclose quite a bunch of (D) connectors - you need a total of 600, that is 12 times 50 rings per basis flower.
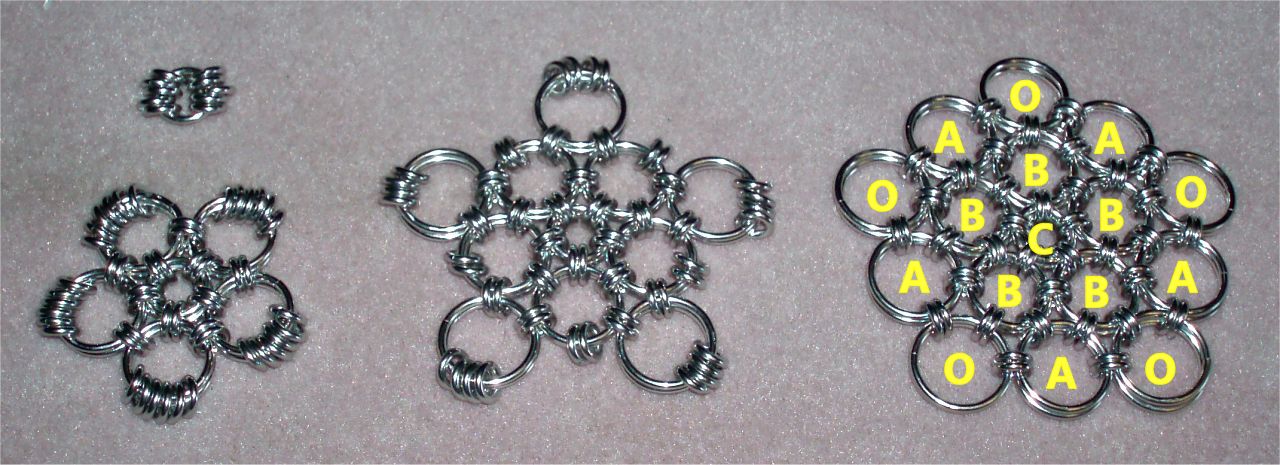
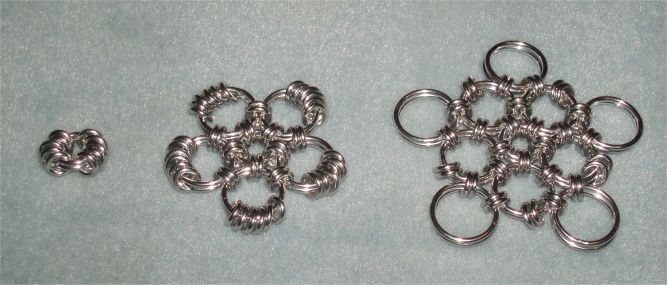
• Then add ten connectors on a (C) ring, and after closing, add a parallel C ring, to double up. Repeat this twelve times. This step is shown in the left sample of the first image.
After that, break out the bag with (B) rings, and repeat for every of the twelve buds, as is shown in the central photo sample:
• Add ten preclosed connectors to a B ring, weave through two of the core's connectors, close it, and then double it up.
• Next step, of adding eight connectors to a fresh B ring, going through two core, and two of the previous large ring's addon connectors, and doubling up, repeats three times.
• And last, but not least the pentagonal center flower is finished with six addon connectors, going through two of the first petal connectors, the last two core ones, and two of the previous set ring - and again doubling-up is asked for.
Now store the remaining B reserve rings, and break out the (A) rings.
• Just add a pair of them at every of the previosly woven pentagons, through two connectors of the adjoining corner rings each. This is shown in the right photo sample. Note that now at every of the now enlargened pentagon's edges a superfluous-looking two-ring connector set remains - but these will be used soon, and are deliberately added already this early.
Now, as the twelve pentagons are woven, we begin to mount them together.
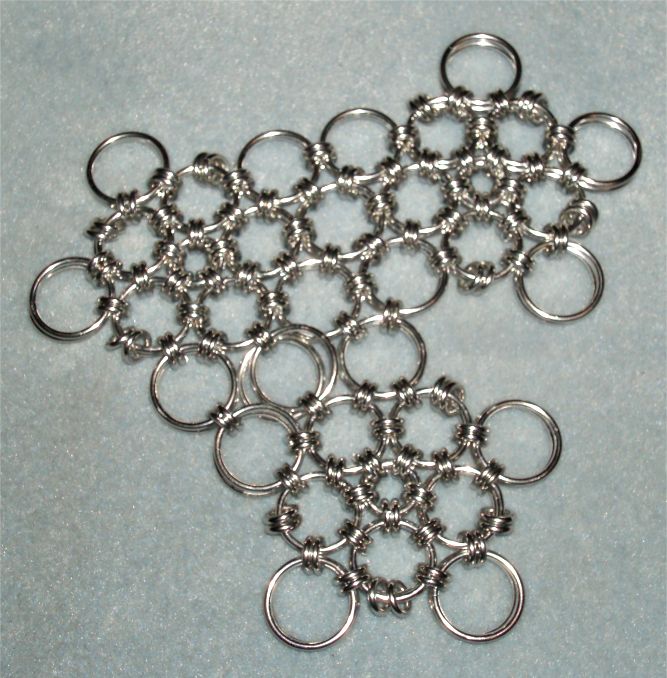
Simply mount the pentagons CORNER TO CORNER, similar to the Yetsanihedron. Note: All rings without extra connectors are such corner rings.
And now you see the value of the 'superfluous' connectors - you have already set a partial connection, where finally the 'O' rings are placed - as usual as ring pair. See in the photo, that the lower pentagon's O ring is yet just woven through these 'extra' rings, but not yet completely sewn in. I recommend to set these O rings always directly, once an edge connection of two pentagons was done by connecting their two corners, as it's easier to do, as long as you can reach not only the outside but also the inside of a sphere. And you'll note that the surface begins already to dish up, once the O rings are set.
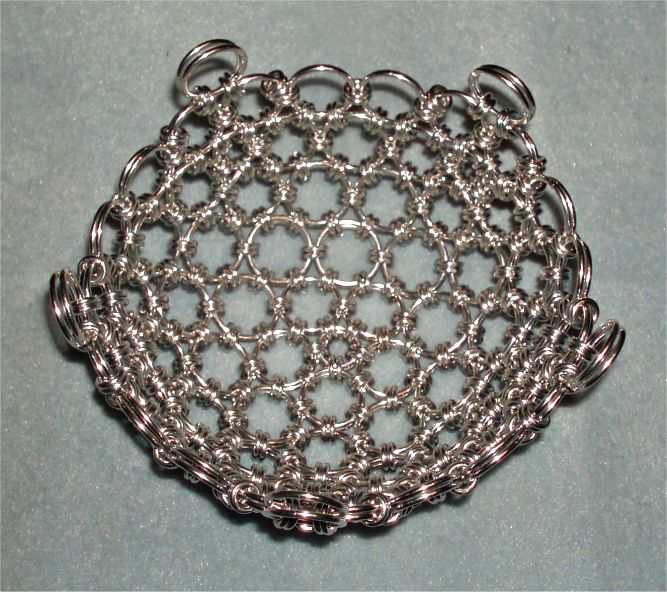
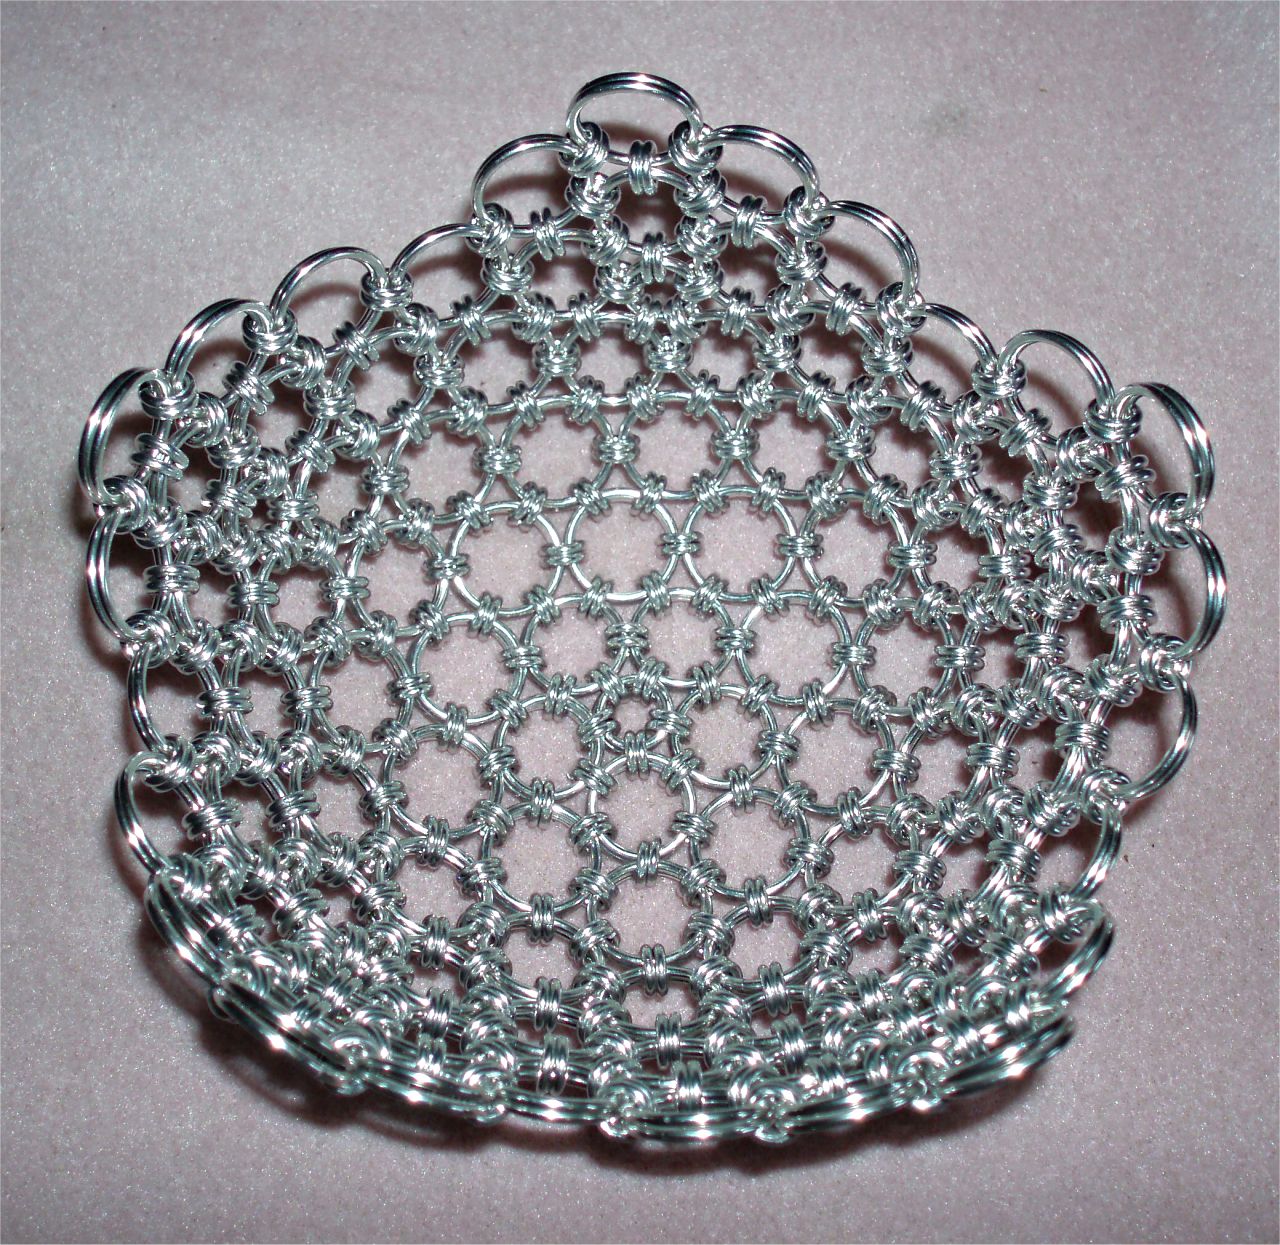
This photo shows six of the pentagons mounted to a hemispherical bowl. After having woven two of these, you can finally 'sew' them together, and add the remaining 'O' rings, to be finished.
Have fun with your new maille ball.
-ZiLi-
P.S.: As usual - If you need ring kits of proven size combinations, or simply have further questions or proposals to make this tutorial better, ask me via FaceBook chat (Heinrich Zinndorf-Linker), or per eMail to maille@zili.de.
Text to be written, but here are already the photos...